How to DIY leg wax with sugar: a low cost + waste method!
Over the last 2 decades I’ve shaved my legs, I’ve epilated, I’ve waxed, I’ve not done anything… but as with anything I’m always looking for a non toxic, lower ingredient, lower waste version of a way to do something! With dark hair I prefer the ease of waxing over shaving but I don’t want to pay to have it done professionally, and I wanted a low cost, non toxic way to do it at home so I’ve been meaning to try sugar waxing for ages.
When I started looking into it, there are a ton of different recipes on the internet so I wanted to share my review. Overall it’s a method I highly recommend, but I think people could be put off by the process so give it time and patience!
You don’t need lemon juice!
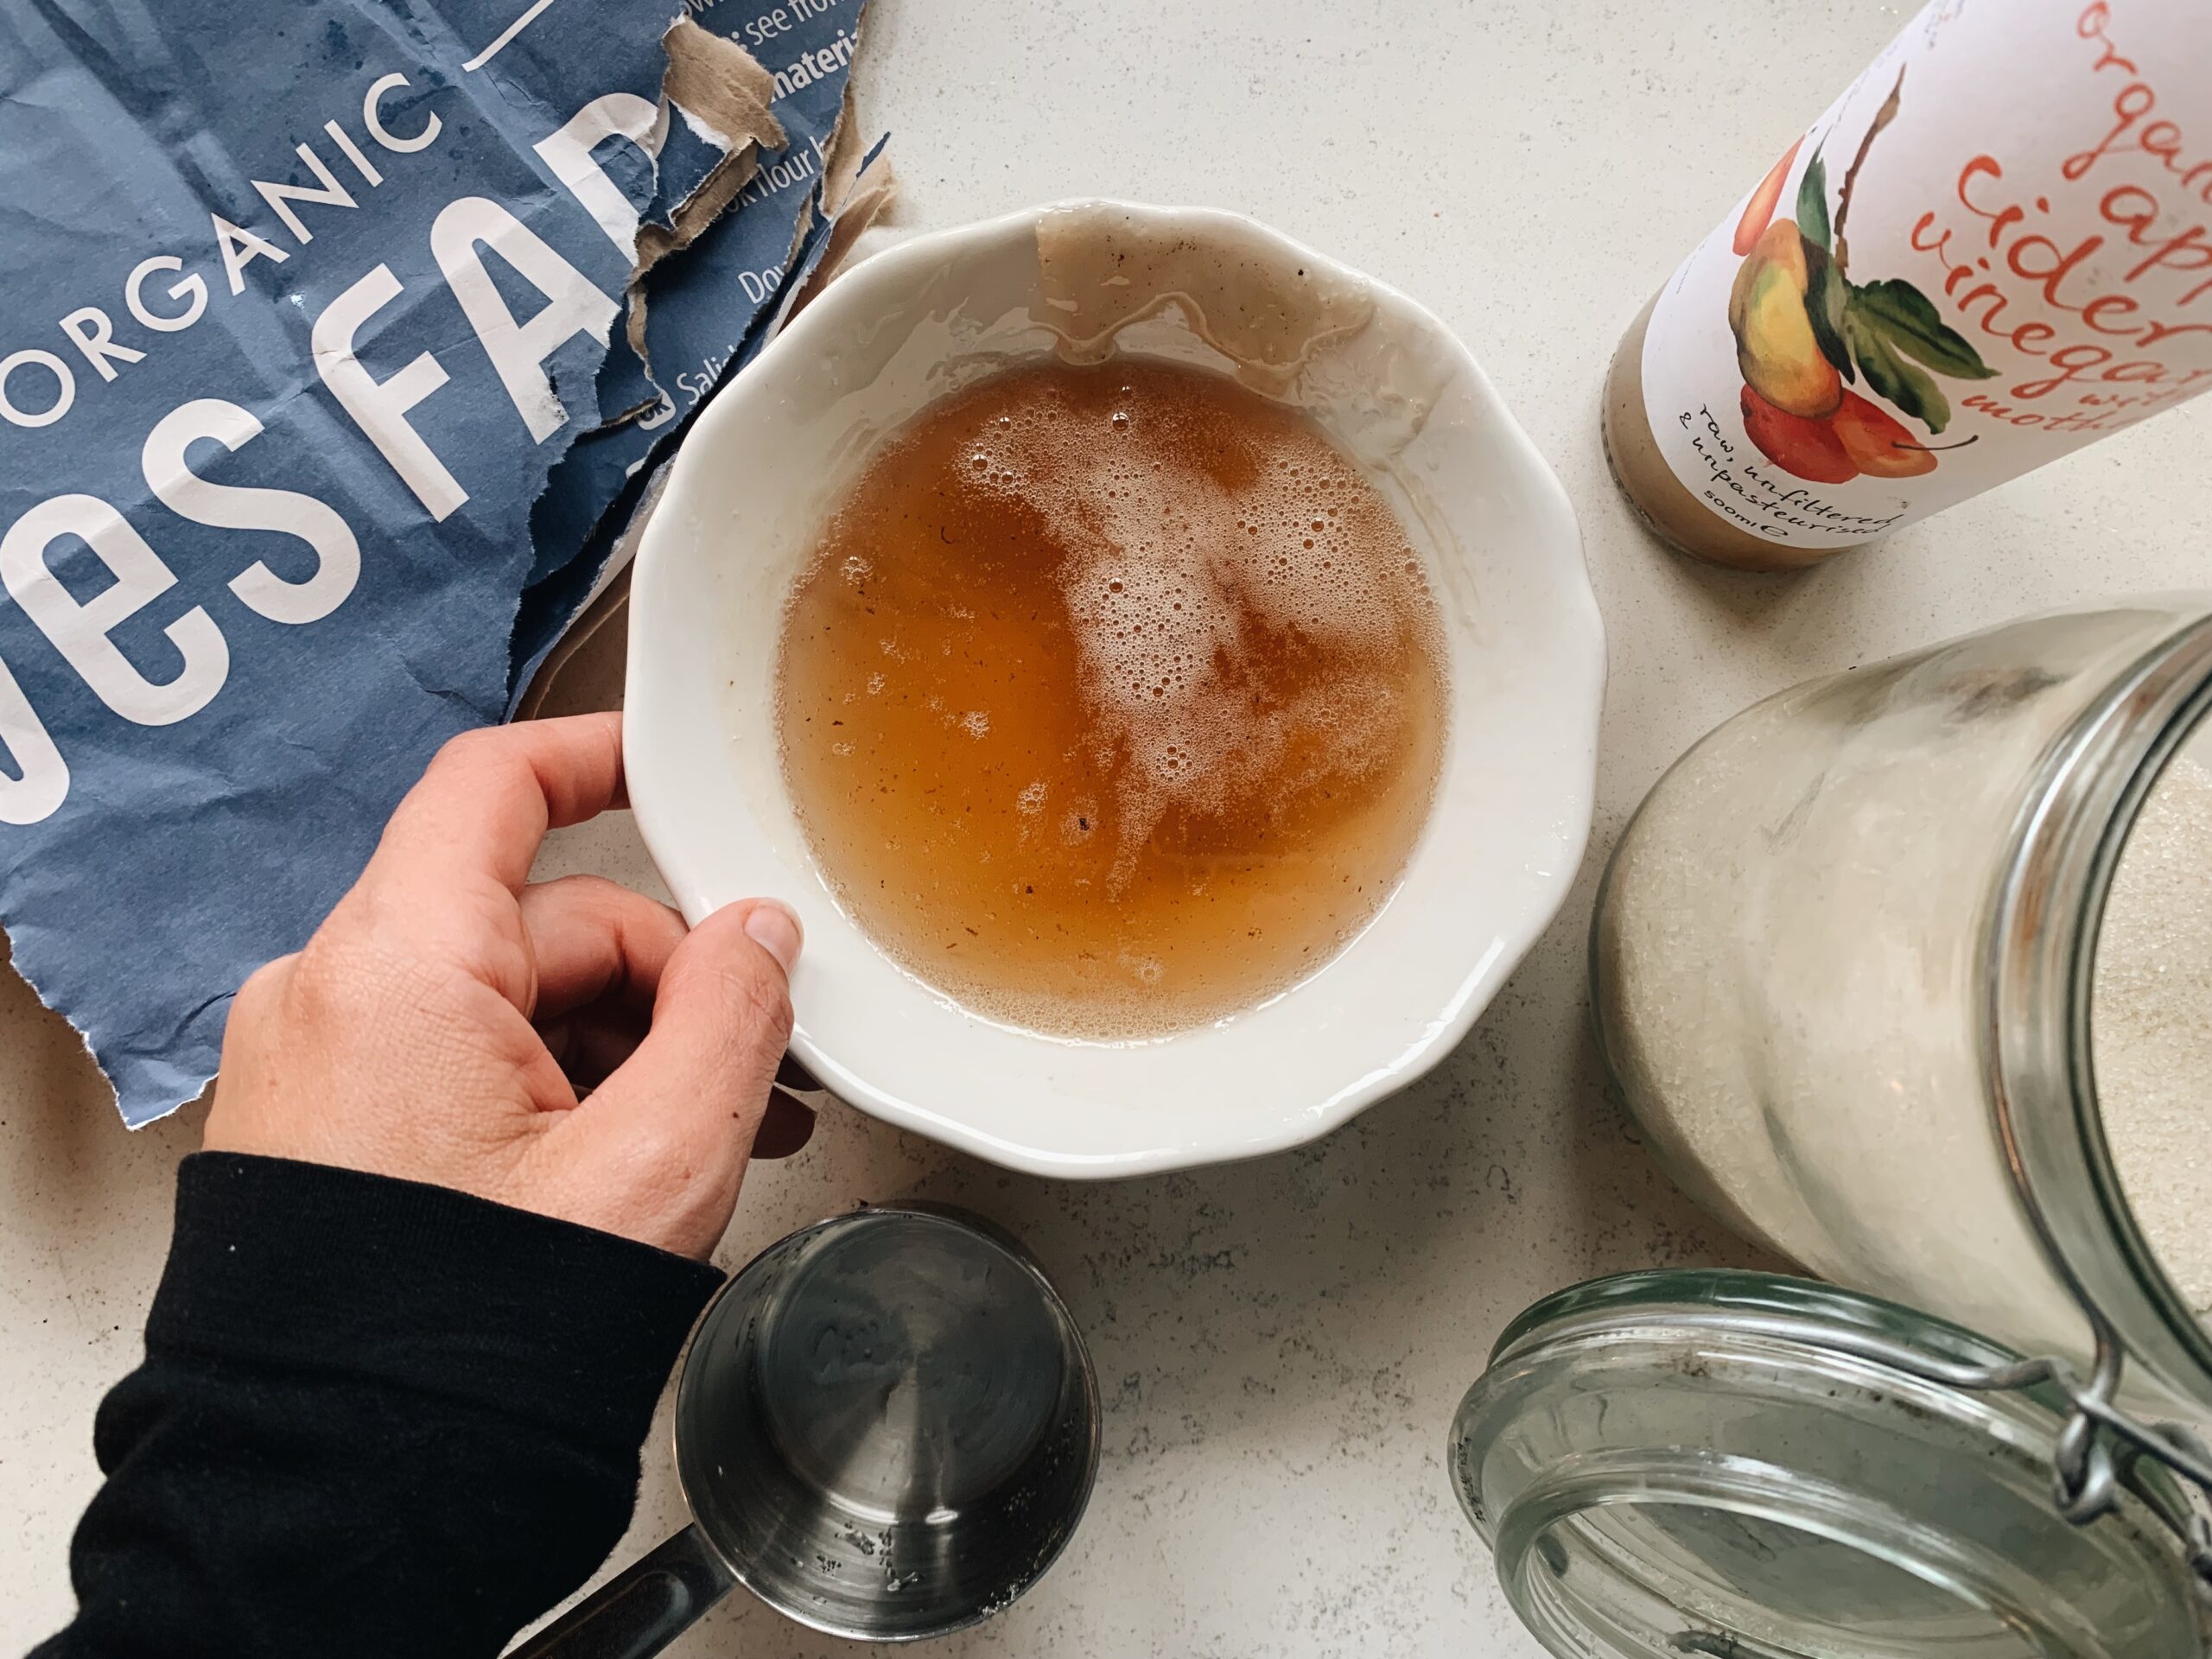
The recipes mostly use lemon juice, but I don’t keep lemons around, they don’t grow locally. I often replace them with apple cider vinegar in recipes so I tried waxing with ACV and it works well! You can also use lime or lemon, whatever you have, I tried all three. Then I used organic granulated sugar (which I get package free HERE), and water.
My go to recipe!
- 4 tablespoons (1/4 cup) of vinegar
- 4 tablespoons (1/4 cup) of water
- 8oz (A cup) of sugar
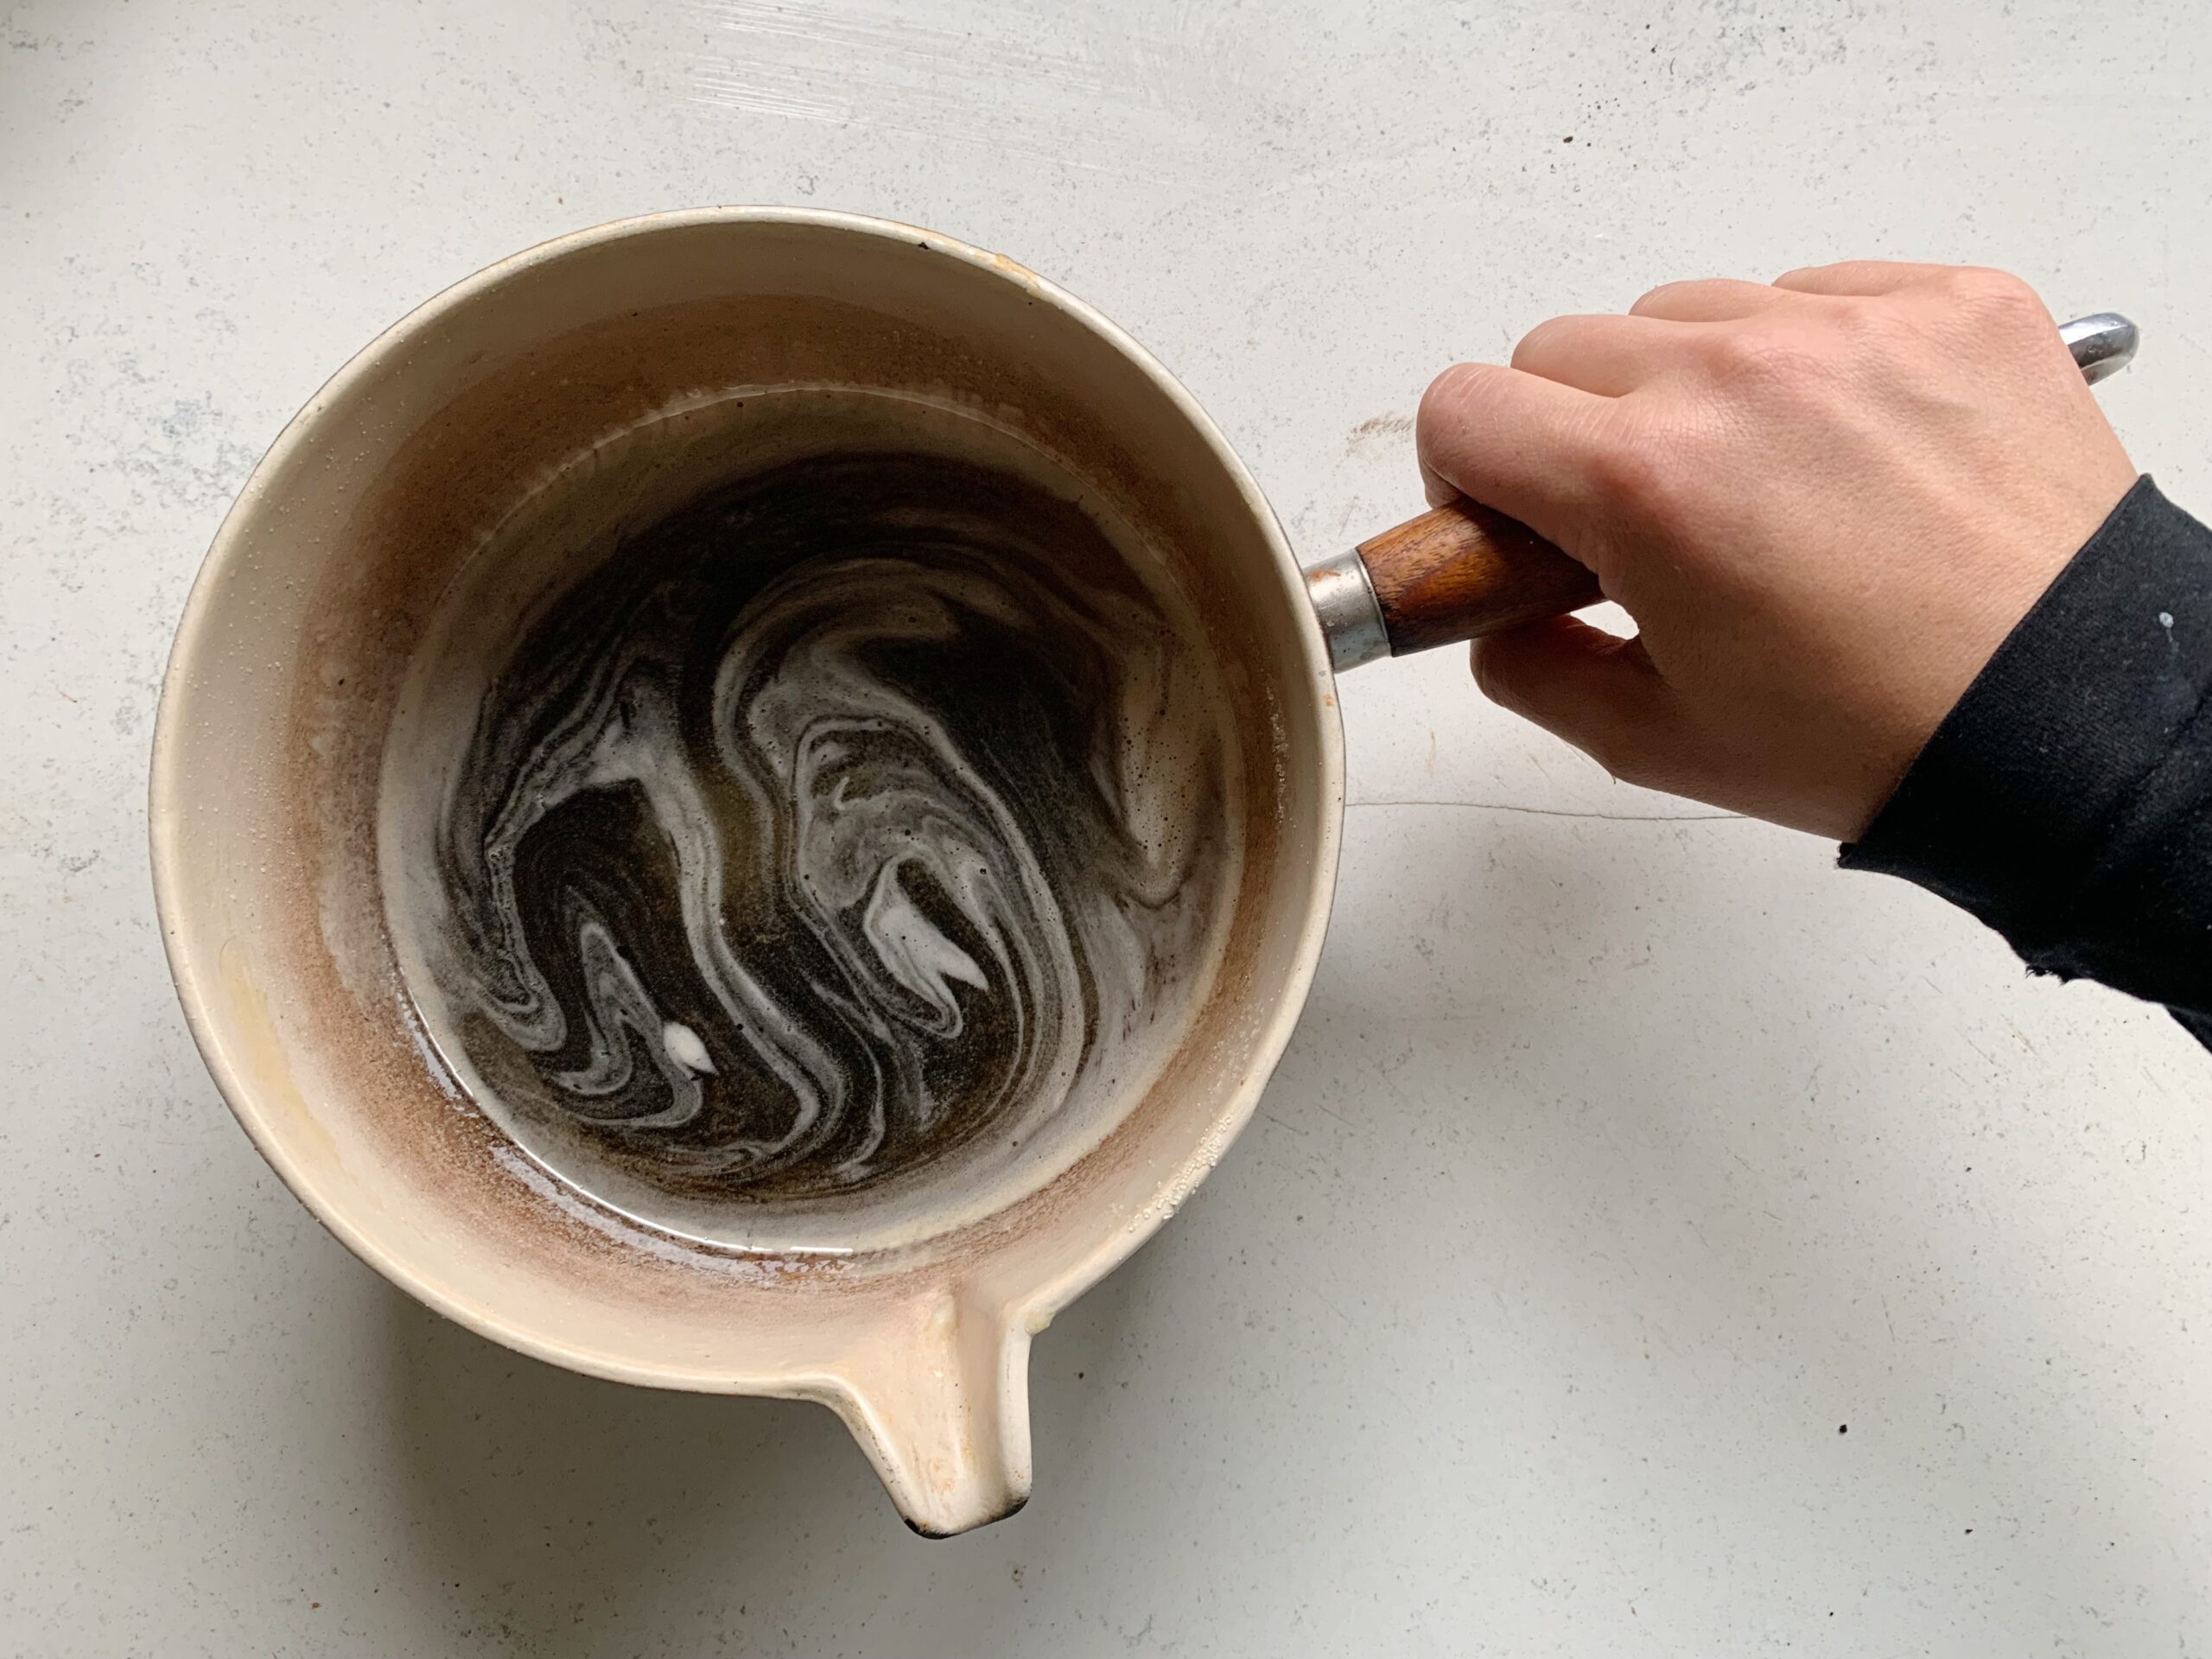
- Add everything to a pan and heat over a low/mediium heat for 10-20 minutes until you get a golden maple syrup colour.
- Leave it to cool
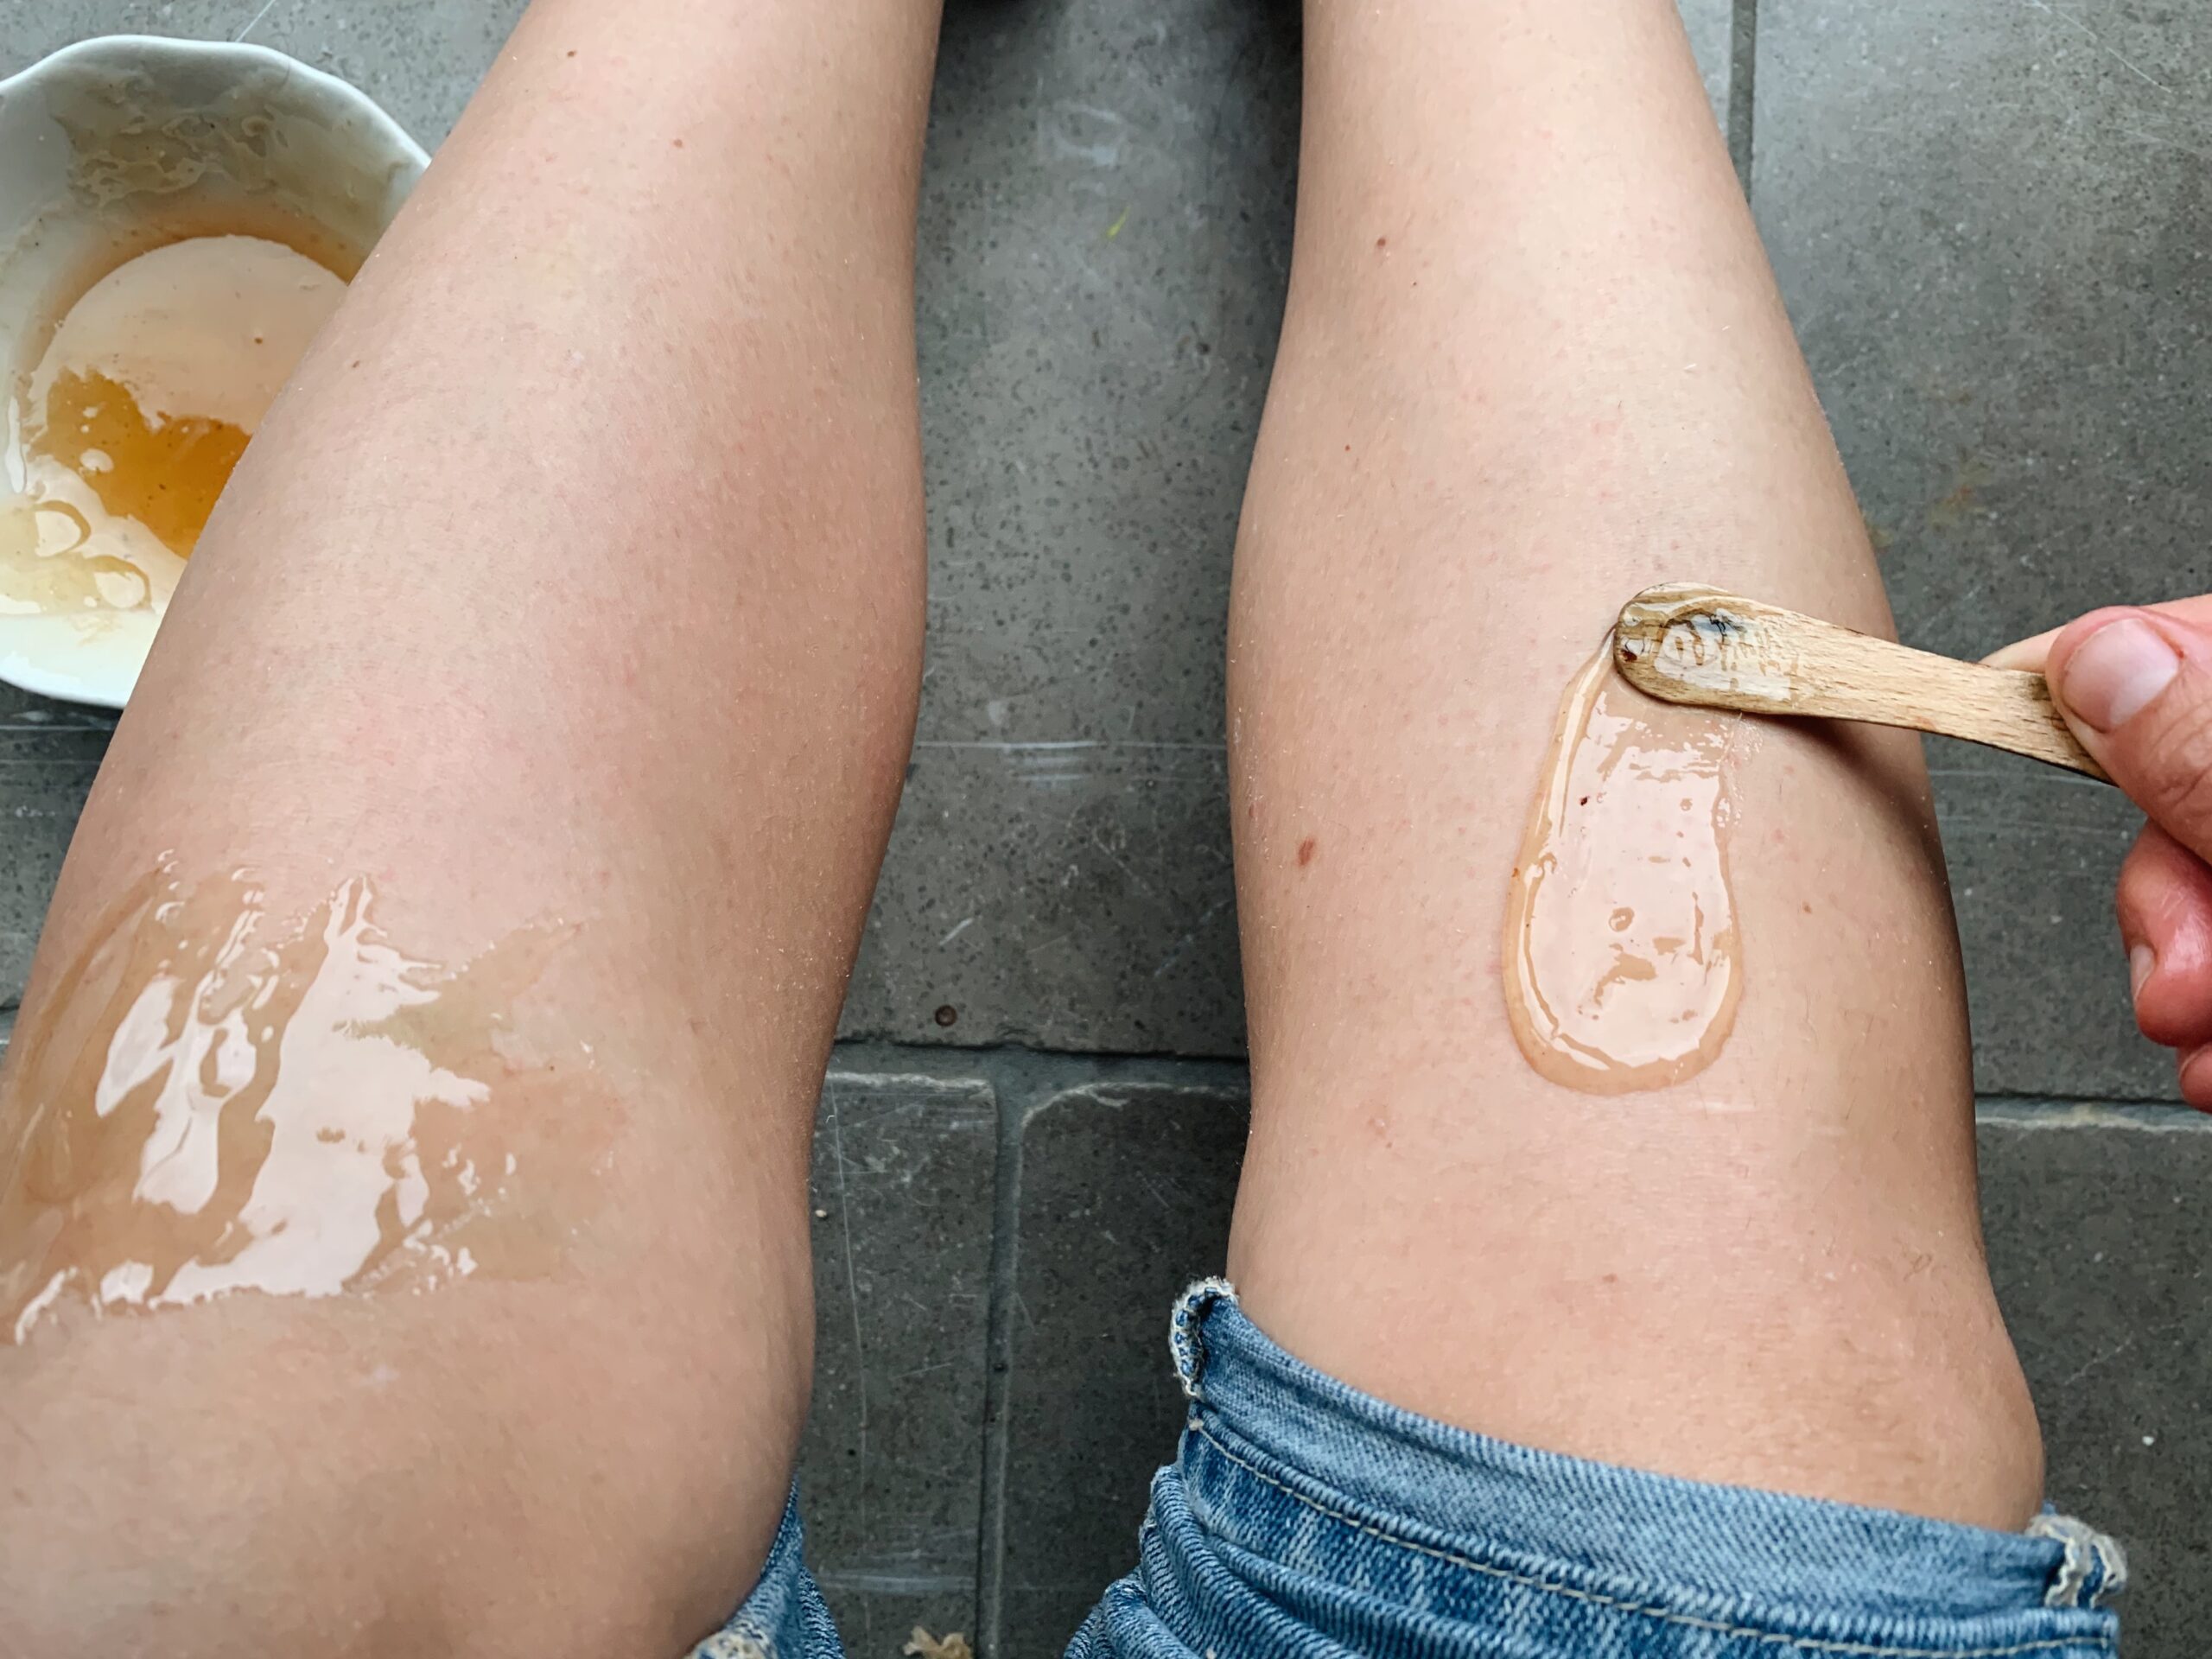
- Use a wooden stick or blunt butter knife to apply it to the skin
- Put paper over the top and pull off against the direction of the hair
I think this waxing ratio rather than sugaring is a bit easier to master. I recommend starting there. After cooling the syrup for about 30 minutes (or until you can touch it comfortably) you’ll be left with a sugar wax that works just the same as regular wax.

Cooking notes
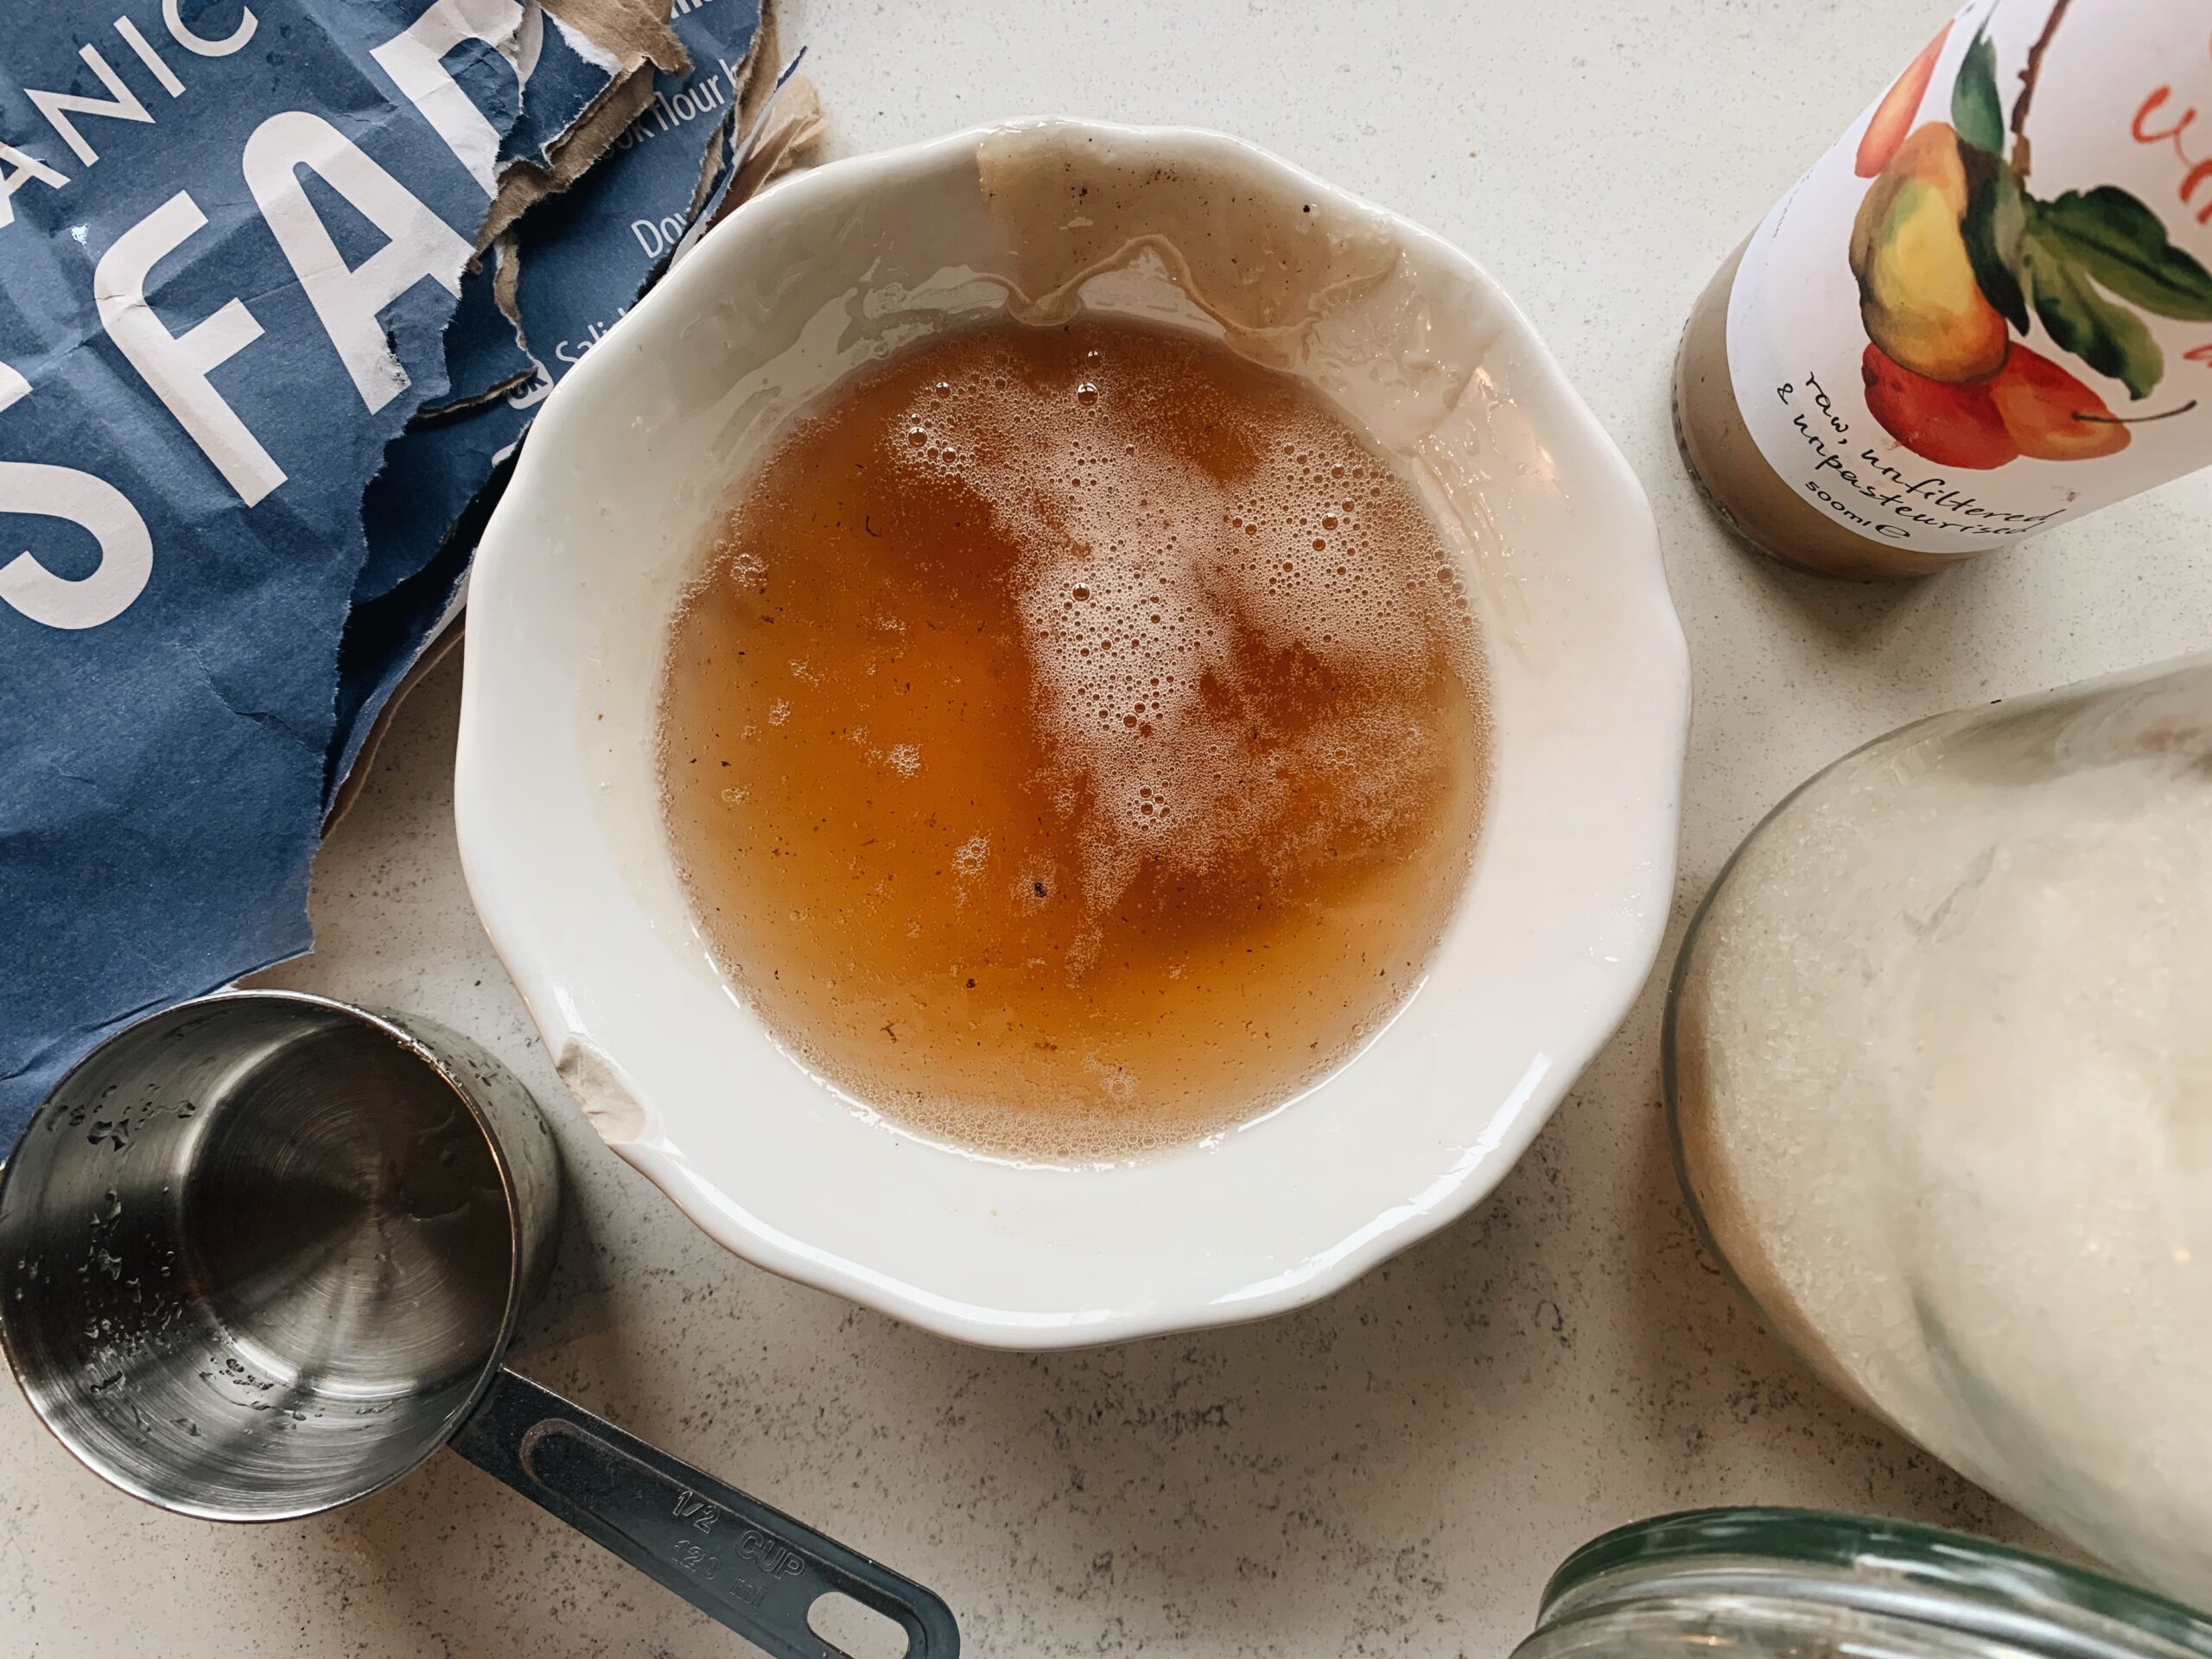
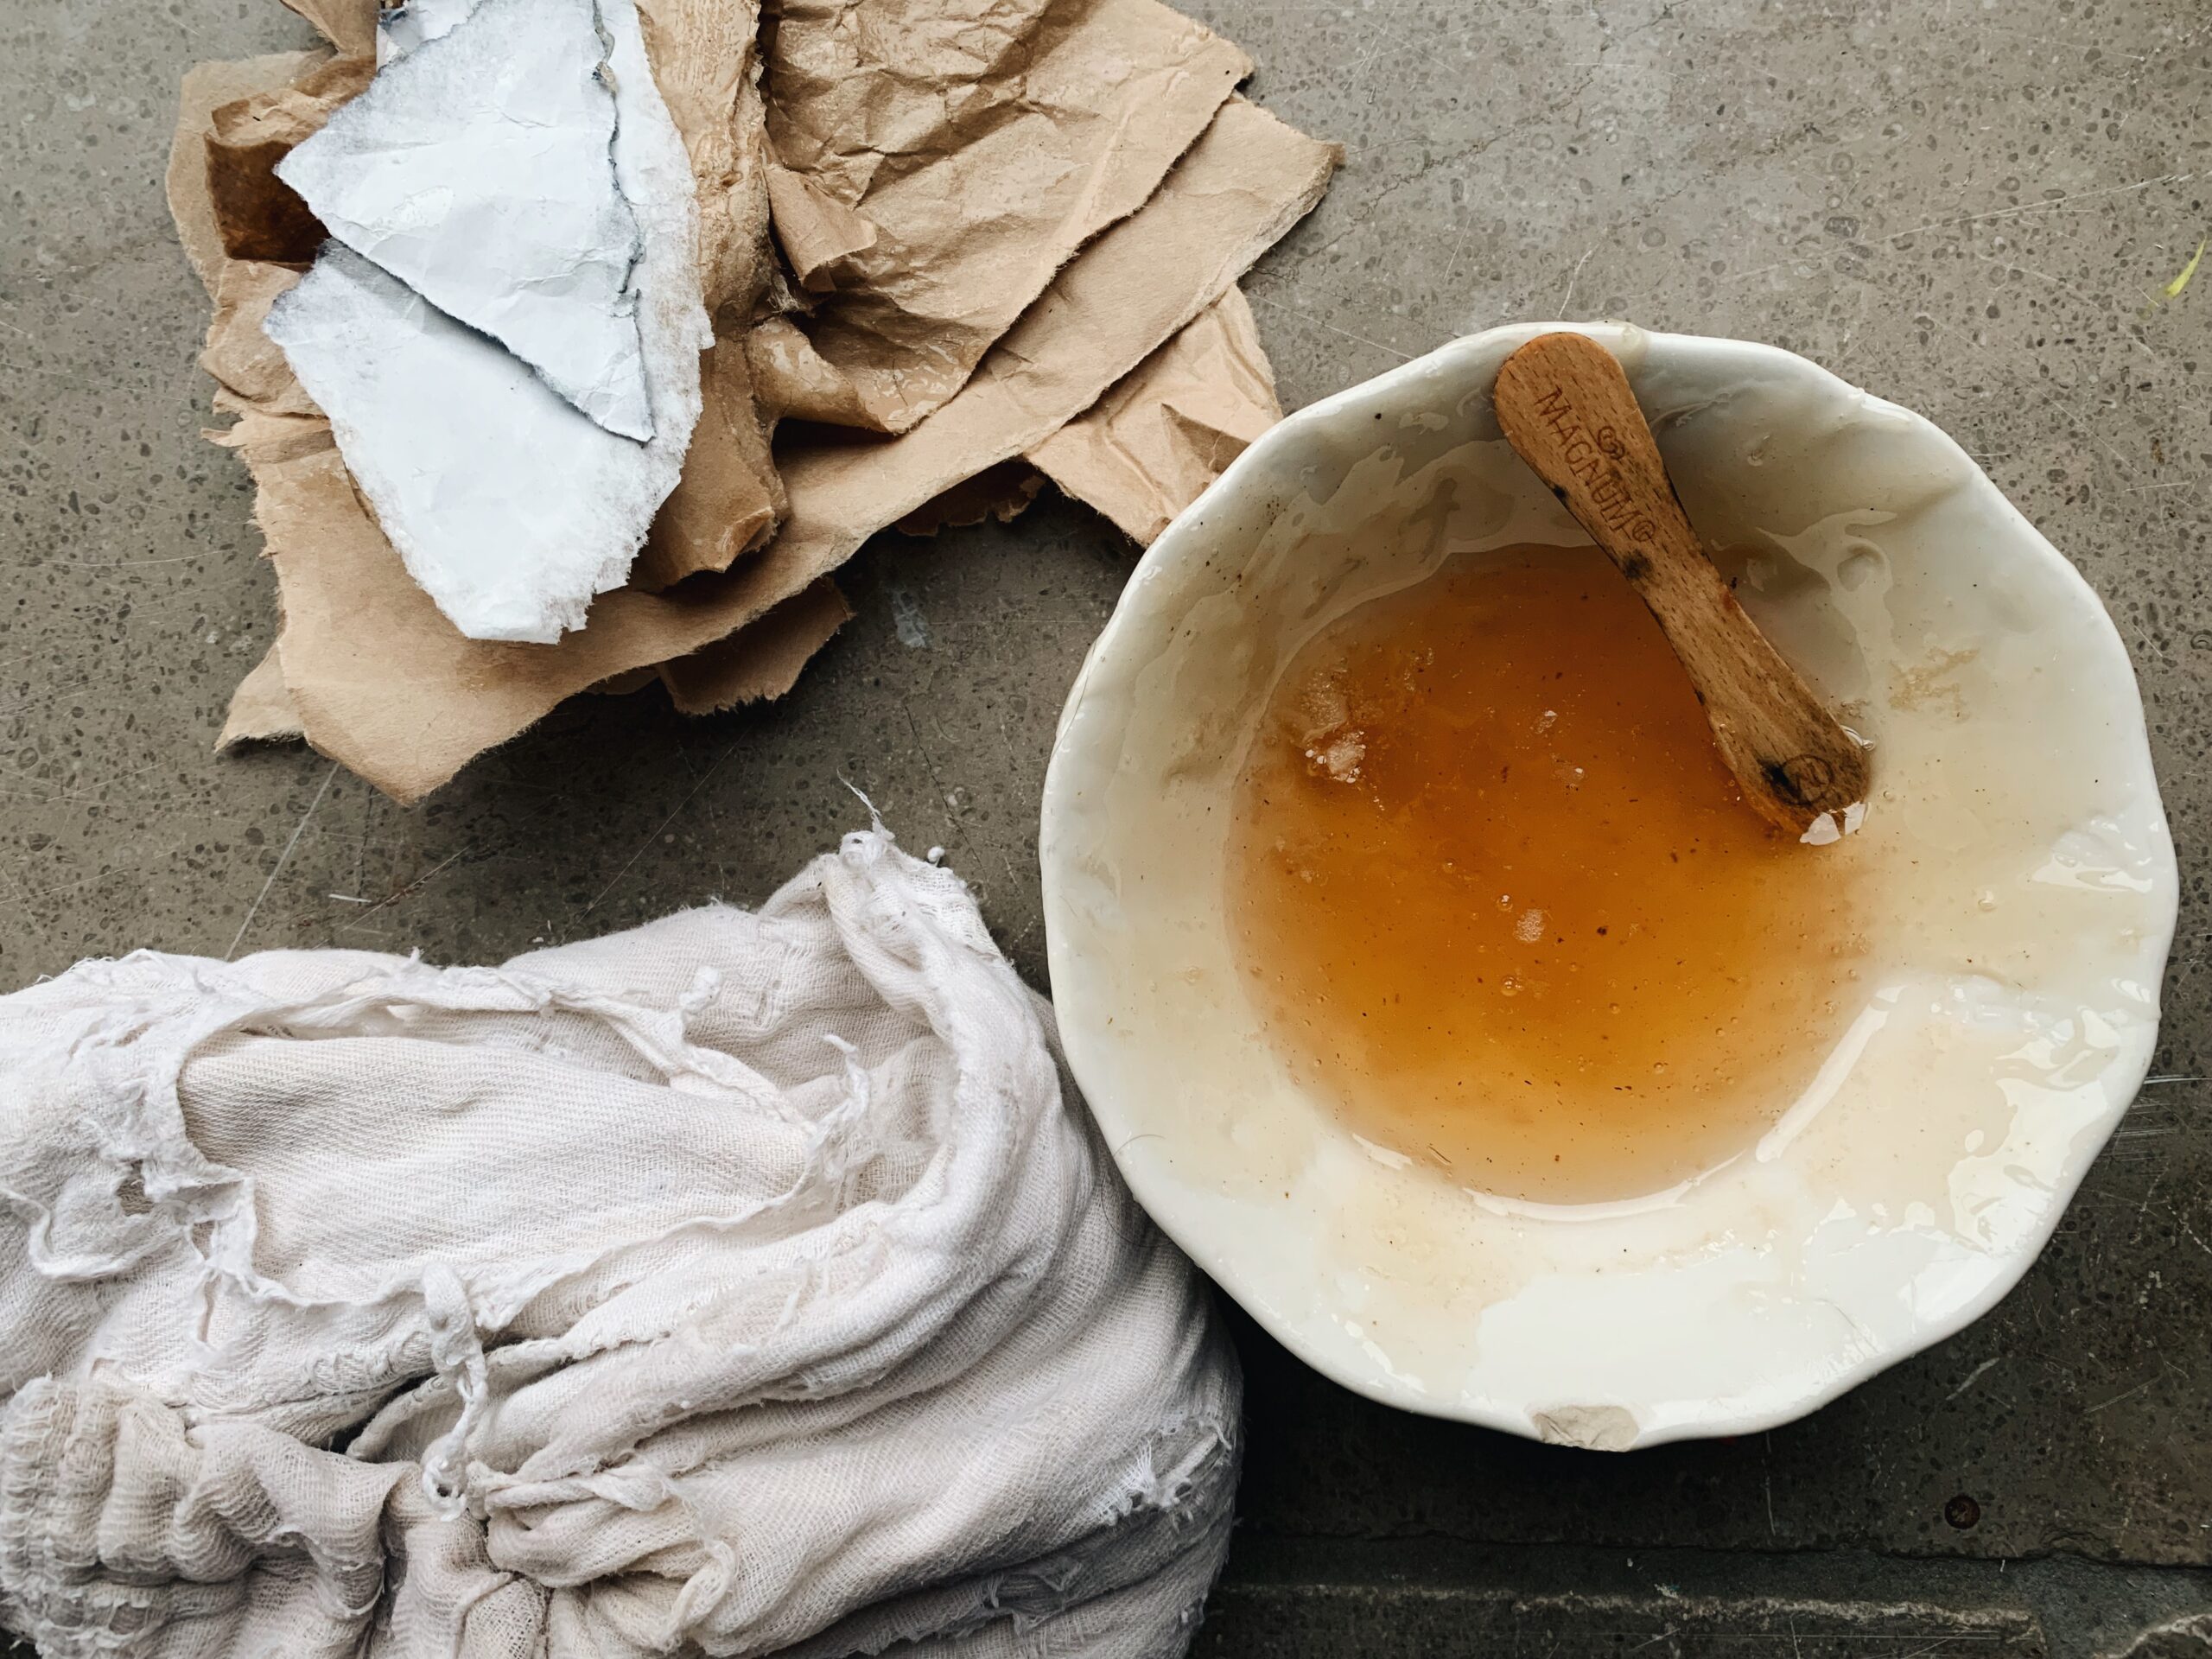
If you start with a slightly brown sugar and use a brown pan, it can be hard to see the colour change! Pour the mixture into a white bowl and look for a dark maple syrup colour like the photo below. If its lighter, it won’t thicken to wax. If you take it out too early you can return it to the pan for another 2 minutes and check again. I started at 10 minutes but usually go to 15-20 in the end.
Some recipes say to stir while it heats and other recipes say not to stir, some say low heat, some say higher. Personally I found it doesn’t matter too much as long as the heat isn’t too high, I usually mix a few times. The mixture just needs to reach a dark maple syrup brown. It usually takes me about 10-20 minutes of seeing little bubbles but not a vigorous boil.
Most recipes mostly show either 2 or 4 tablespoons of lemon (vinegar). Different amount of the lemon juice it seems, will make two different things. With less vinegar you’ll get a “sugaring” recipe. For that you don’t use cloth or paper to take off the sugar, you knead the sugar and use just a ball of sugar. This method also works in the opposite direction to waxing, pulling with the hair rather than pulling back the wax in the opposite direction of hair growth.
The waxing part
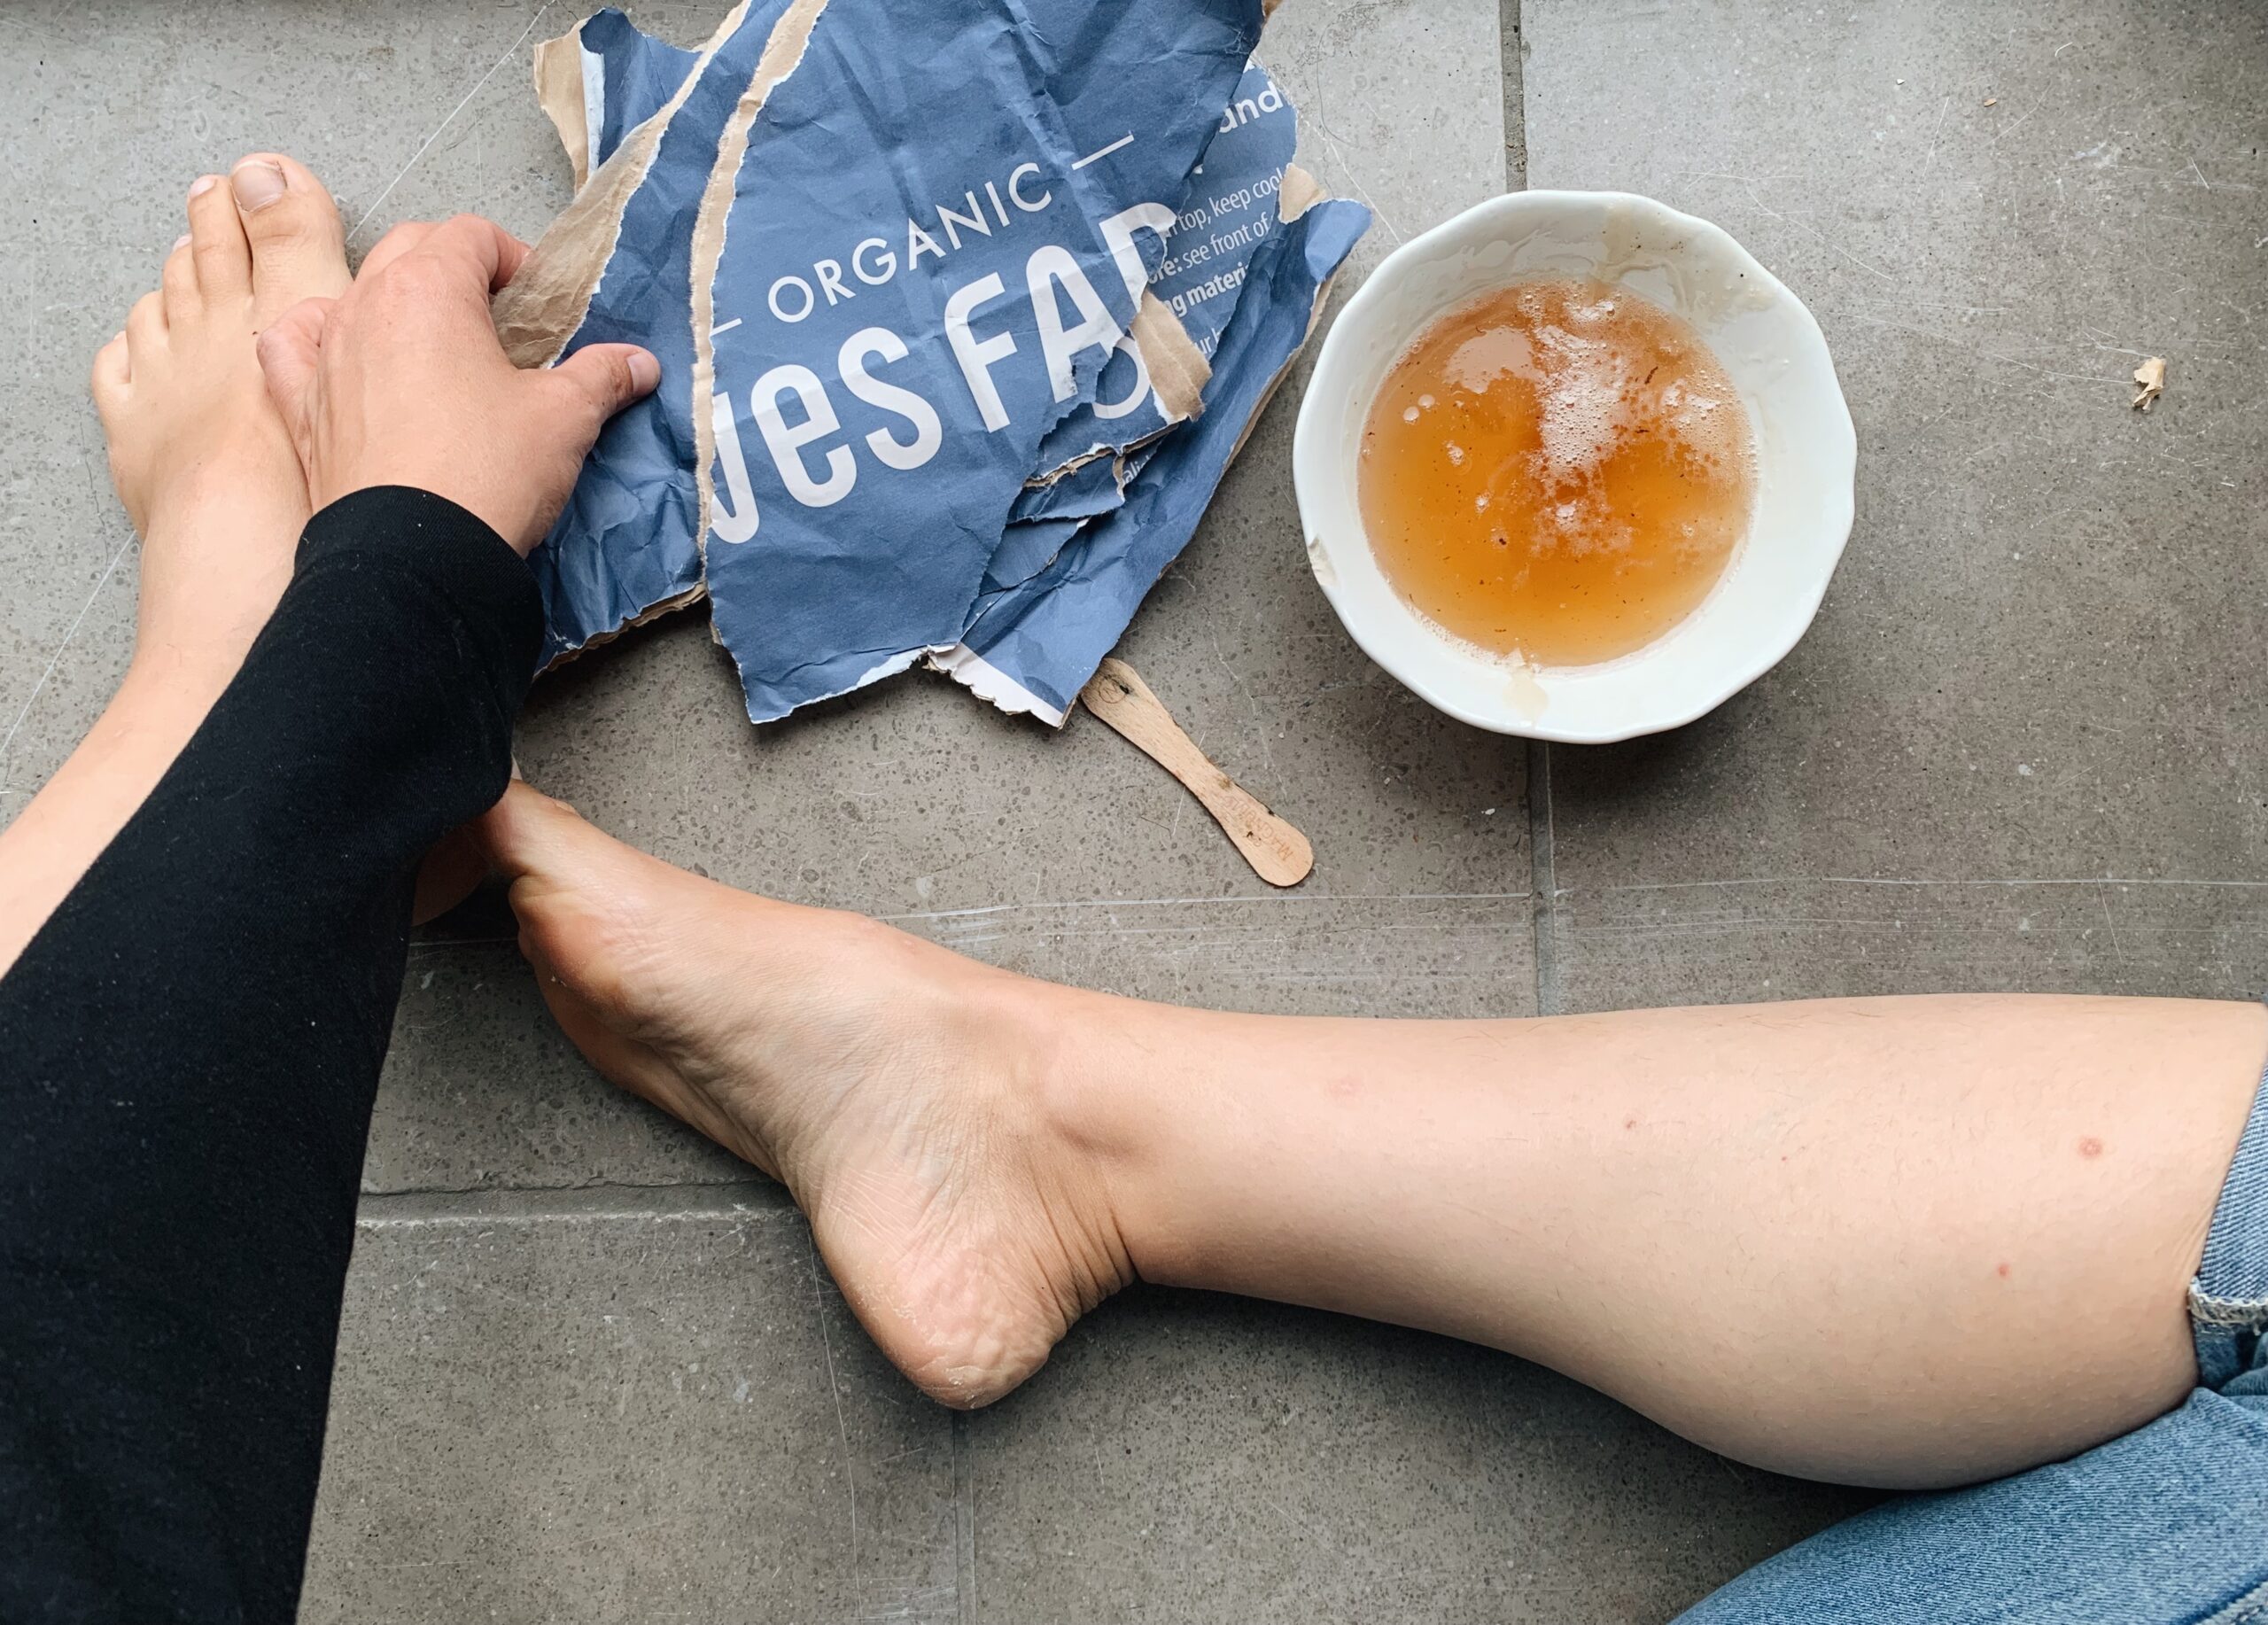
After pouring it into a bowl and leaving it to cool, you’ll be left with a thick sticky… very sticky, liquid. For me it took 30-45 minutes. I keep doing this with kids around… life, but take some time to get used to the process. It gets easier. I used an old ice cream stick to put in on my legs. Spreading it on in the direction of the hair.
Then I used a ripped up paper flour bag to take off the wax. You can use fabric or thicker paper – anything thinner than kraft style paper will rip. Smoothing the paper on over the wax and ripping it off in small areas. Once you’ve ripped off a section you can use it again a few times, or use the paper again with new wax.
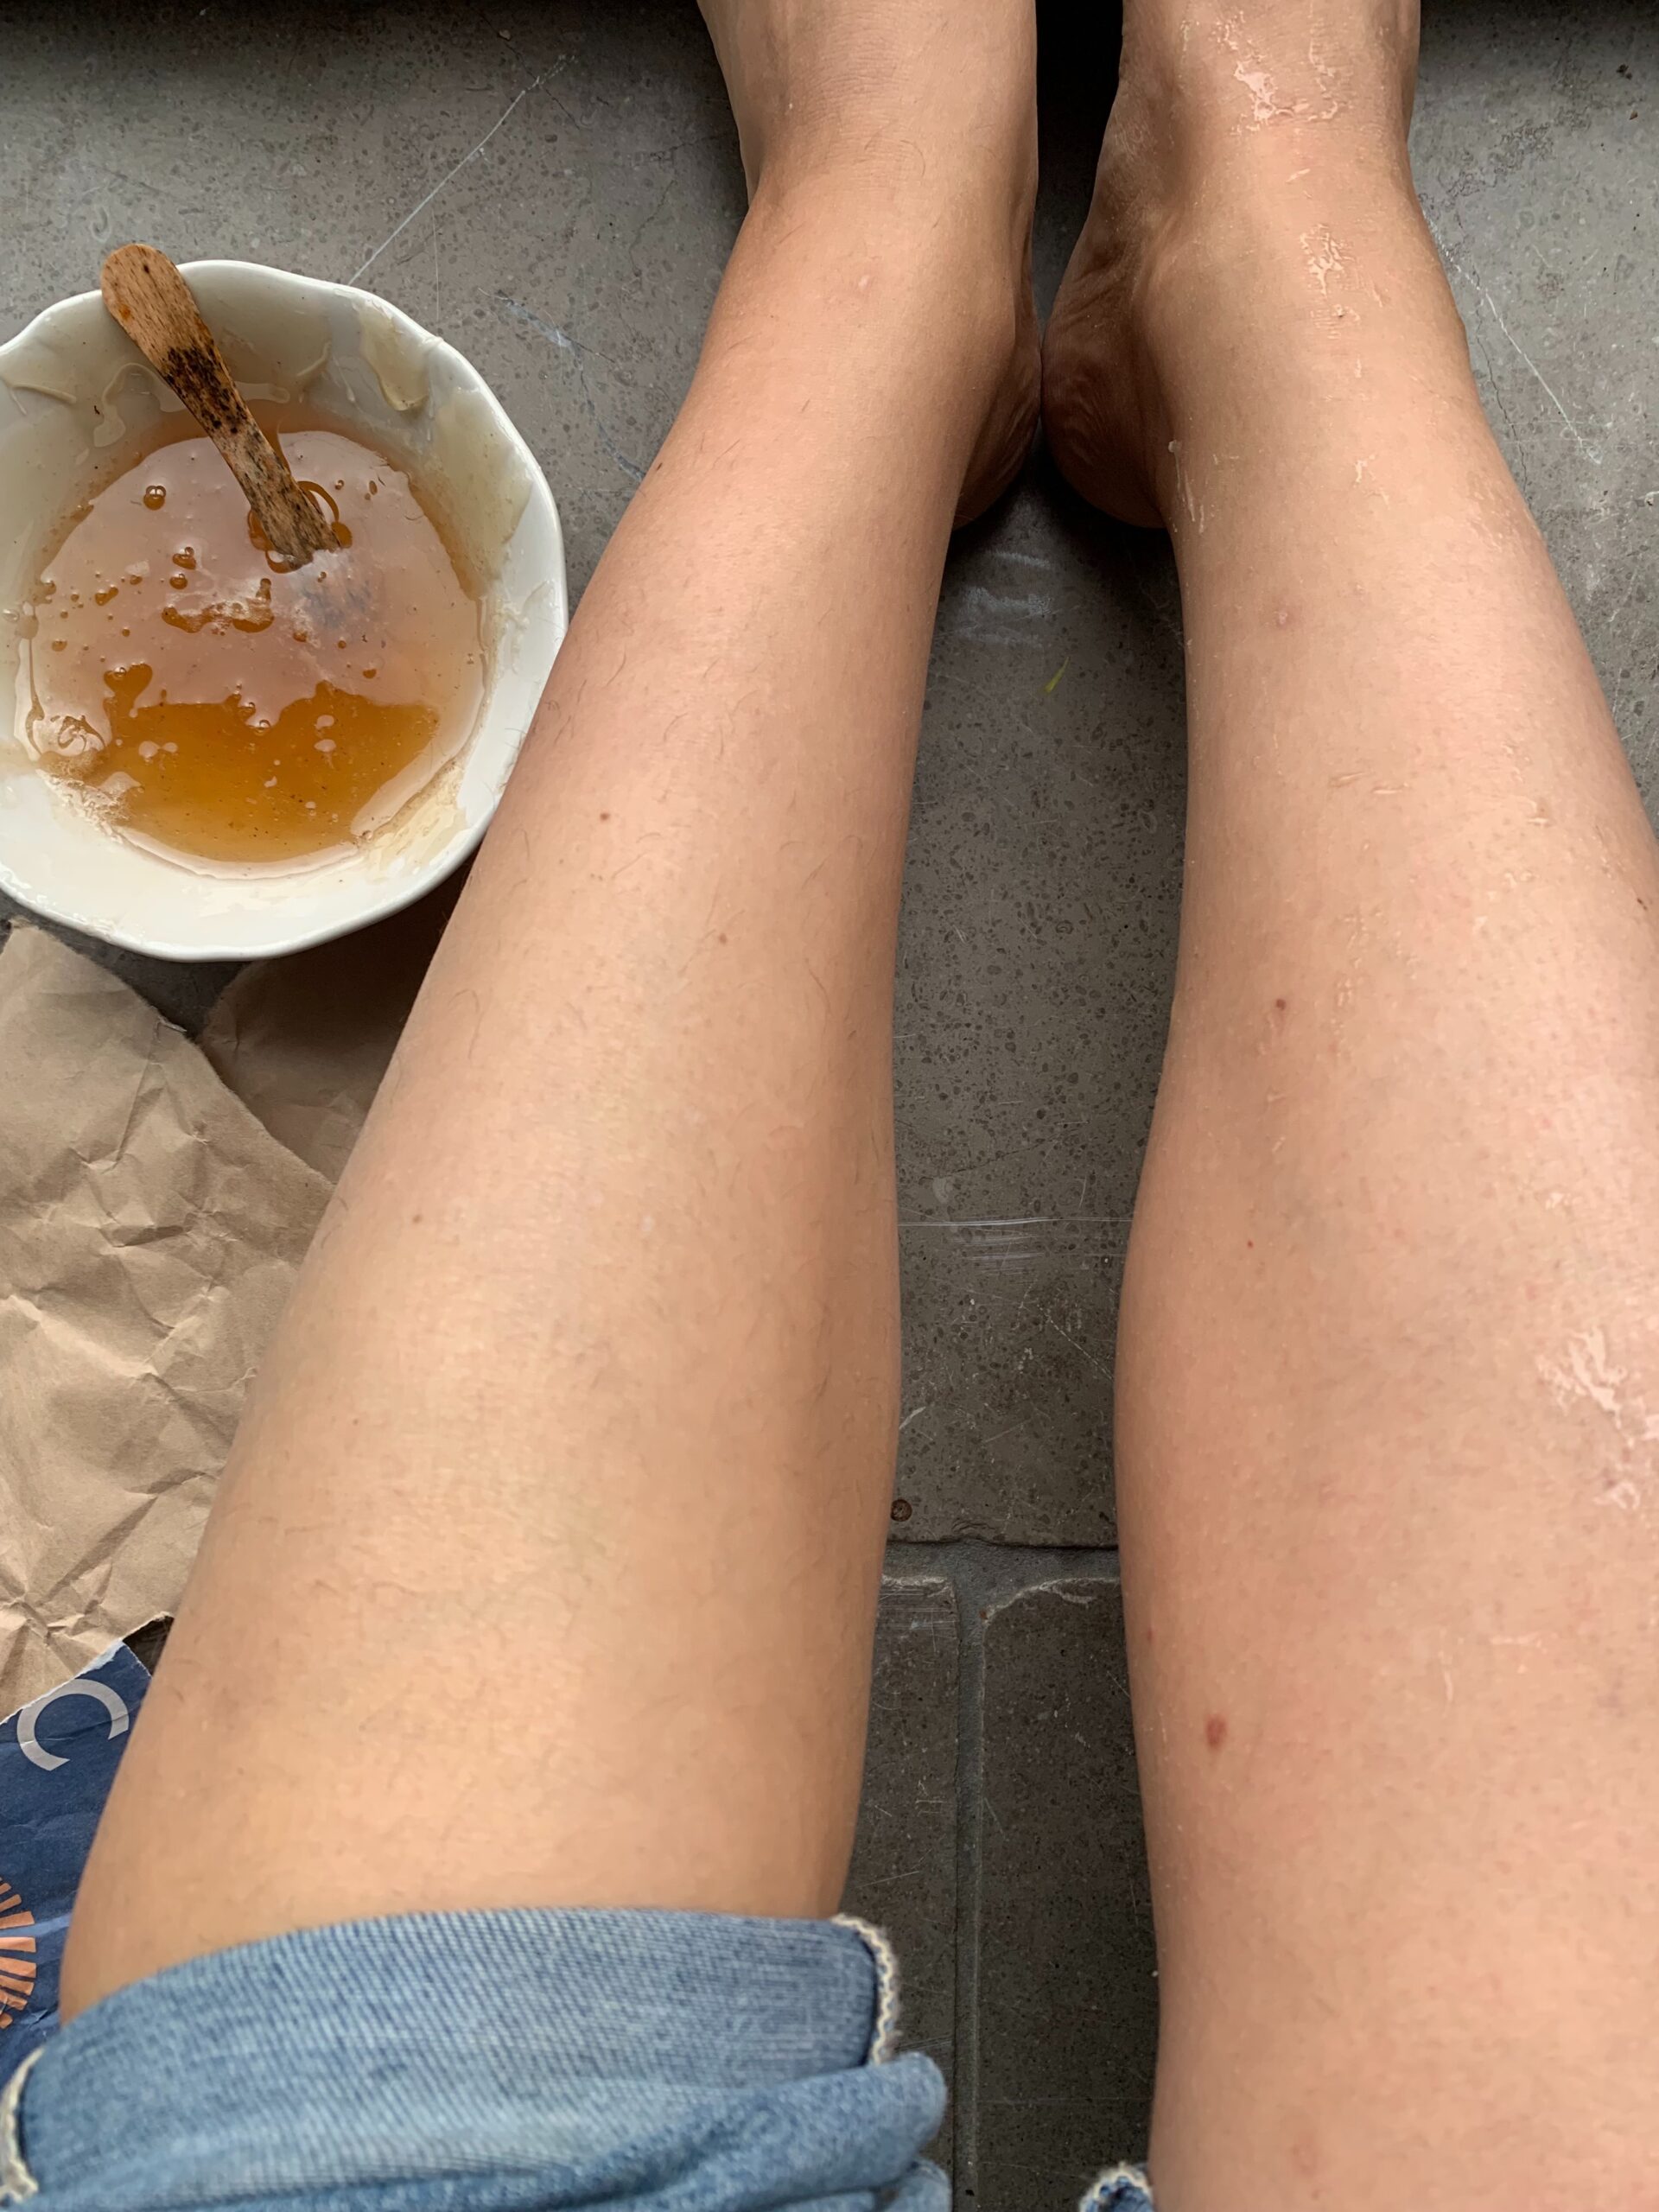

And then this is what you’re left with: fully compostable waste only. Using one cup of sugar I had enough for both my legs up to just above the knee and my bikini line!
In conclusion
It’s well worth trying and will 100% be my go to! I especially love that you can get the ingredients anywhere, so if you’re travelling there’s nothing special you need to take with you. It’s 50p-£1 (less that $1!) for a full leg wax depending on where you buy ingredients with very little waste and nothing that ends up in landfill. I do find I need to exfoliate when I wax and you can use used coffee grounds for that for an easy up-cycling exfoliation!
Sugar Leg Wax without Lemon
Equipment
- 1 Saucepan
- 1 wooden spatula (an old ice cream stick!)
Ingredients
- 4 tablespoons vinegar
- 4 tablespoons water
- 8 oz sugar
Instructions
- Add everything to a pan.
- Heat the pan over a low/medium heat for 10-20 minutes until you get a golden maple syrup colour.
- Pour into a bowl and leave it to cool for 30 minutes or until you can touch it.
- Use a wooden stick or blunt butter knife to apply it to the skin. Then put paper/fabric strips over the top and pull off against the direction of the hair.