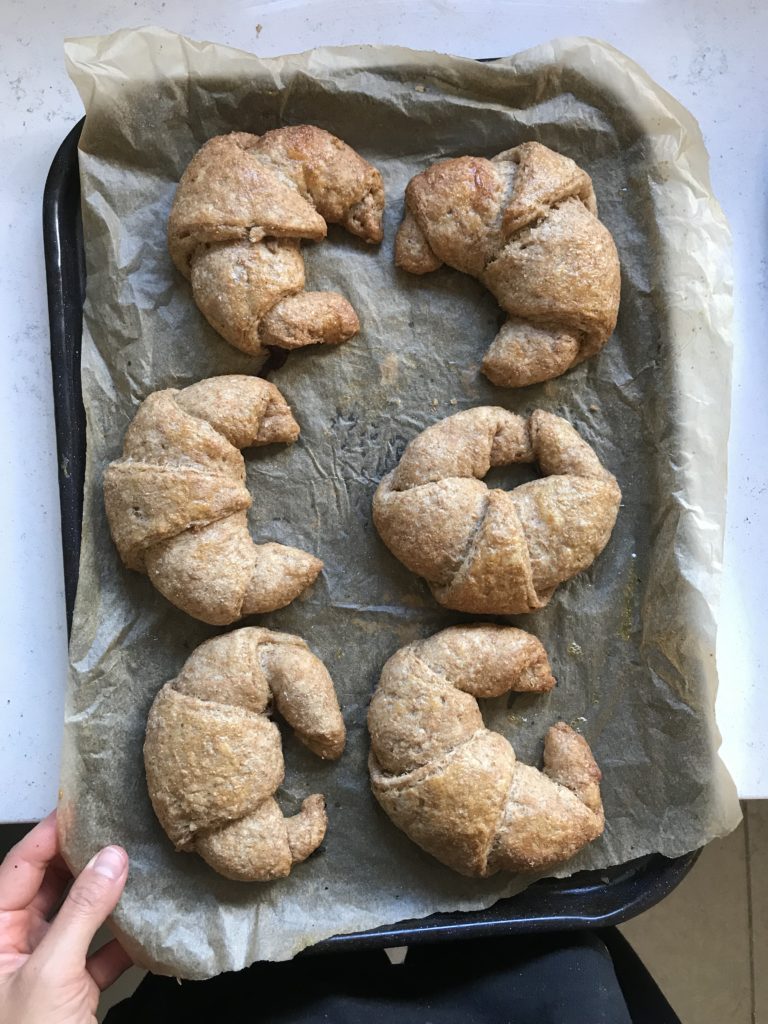
Wholewheat Croissants
Croissants are just not as difficult as I thought they would be. And 35p for an organic freshly baked wholewheat croissant is unbeatable so making our own is a great way to source the ingredients how we want, get them package free, and save a LOT of money vs buying them pre made.
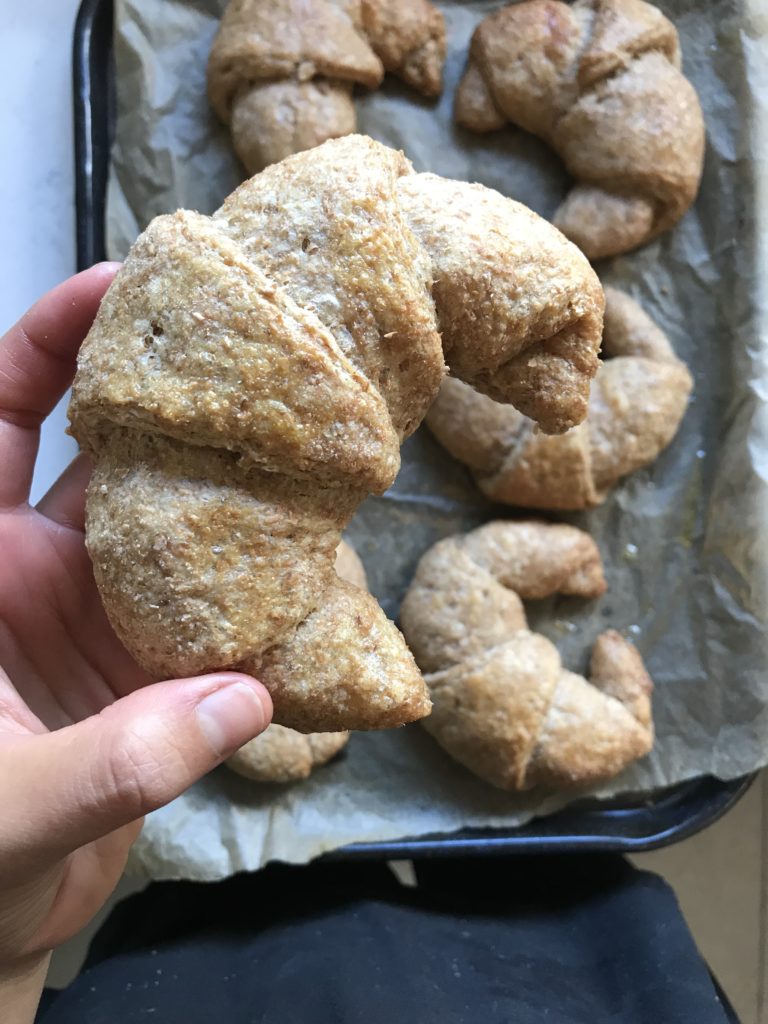
This recipe makes 12, or if you divide the squares into 4 (that will make sense later!) you can make 24 mini ones. The ones pictured are full size. You can also halve this recipe too and make 6 large or 12 small. When you roll things out you’ll just need to make them half the size.
INGREDIENTS
250g Butter (organic salted is what I use)
30g Honey or Maple Syrup
A Good Pinch of Salt
15g Active Bread Yeast
500g Organic Whole Wheat Flour
310g Cool Water
DIRECTIONS DAY 1
The day before you want to eat your croissants, take the butter out of the fridge while you start thee dough. Then gather your other ingredients and mix together the flour, yeast and salt in a large bowl. Then pour in the honey and the water and stir until it’s a tacky ball.
Tip the dough out onto a lightly floured surface and knead the dough for about 10 mins until it’s pliable. At the beginning you’ll see/feel that the dough breaks easily when you pull it apart. After about 10 minutes it will be more elastic and that’s what you’re going for.
At that point put it back in the bowl, cover it and set it in the fridge for 2 hours. You can cover it with an elastic bowl cover, beeswax wrap, or I use an old bread bag that someone else brought into my house and I’ve saved for this!
Next take the butter and place it between two pieces of parchment paper (THIS is the one I use but I buy it locally). Using a rolling pin, bash and roll out the butter until it’s about A4 size (8.5×11″) then refrigerate it along with the dough.
After about 2 hours (you can wait longer or a little less depending on your day but if you can wait 2 hours do that!) pull the dough and the butter out of the fridge. Roll out the dough to double the size of the butter so that when you put the butter slab in the middle ‘portrait’ way up there’s no extra dough at the top and bottom but at each side there’s enough to fold the two sides over and they’ll meet in the middle. Fold the two edges over the butter and seal the edges so that the butter is surrounded by a layer of dough.
Then fold the dough package in half along around the seam, so the seam is tucked in the middle and becomes the inside of the fold.
Wrap it loosely in the same paper you wrapped the butter in. Pop it back in the fridge for 30 mins, or longer if you forget, or shorter if you’re tight on time. Then pull it out.
The dough will have risen, but gently roll it out touching it as little as possible so the butter doesn’t melt, and roll till it’s similar to the size you first rolled it to. Fold the dough again as you did around the butter but with no new butter: Take the two short sides and fold them in to meet in the middle. Then fold it again along the seam so the seam is the inside of the fold.
Then back in the fridge for another 30 minutes. ish. Then do this two more times and leave it for the night.
QUICK OPTION: If you are tight on time you can do two rounds of folding at once, then give it 30, then two more rounds of folding and leave it for the night. It doesn’t give quite the same quality but for cutting out a lot of the prep time it’s pretty good!
DIRECTIONS DAY 2
In the morning roll the risen dough right out to about 1/4” thick and a big rectangle. It will be about about 12”x24” in size if you’re doing the full recipe size or 6×24″ if you’re doing a half batch.
Then cut the dough into 6 squares about 6”x6” (or 3 squares for the half batch) and then diagonally cut each one into two triangles. You can then cut each triangle in two again to make mini croissants.
Take one of the short sides of the triangle and use the rolling pin to roll the dough a little more so the opposite point gets a bit longer and you have a taller triangle.
Now it’s time to roll up the croissants. Place the triangle so it’s pointing away from you. If you’re adding any chocolate,c add about 1T chocolate chunks along the side closest to you where you start the roll then roll up the croissant around the chocolate. Starting at the side closest to you roll the dough up from the short side towards the long point.
At the point, dip your fingers in water and brush them along so that the dough sticks together as you roll the final part.
Put the rolled up croissants on parchment lined trays (about 6 to a tray so they have space to rise. Then leave them covered for 2 hours. If you want you can brush them with a beaten egg before cooking for a glossy finish but you don’t need to.
Preheat the oven to 180°C/350°F and put them in. Set a timer for 15 minutes and see how they’re doing, they need about 15-20. They want to be crispy on the outside and browning but not dark brown. When they look golden brown and hold up as you lift them they’re ready!
Pull the out and serve straight from the oven.
Seal up any leftover when they’re cool and eat the next day. They’re best fresh but they’ll keep for a day longer if you want! Tip: They’re great sliced open with cheese in and broiled/grilled for a second life!